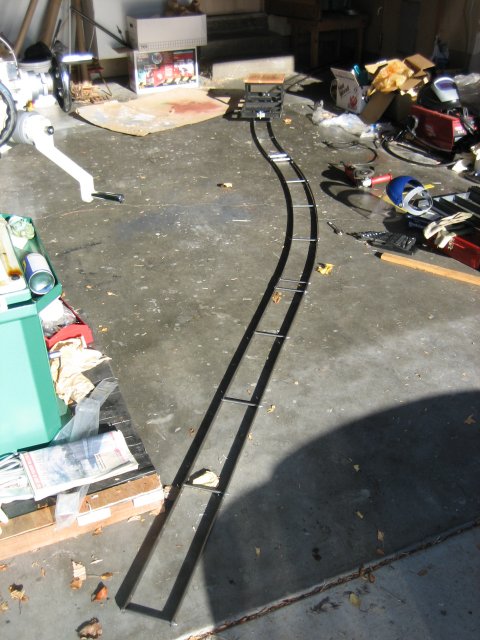
First test of my new portable track. Click on the picture to view the matching gallery.
I've been building this track on and off for the past month or so. Each section is 5'6" long. The rails are made of 3/4" by 1/8" steel bars. They are kept in gauge using some 1/4"-20 bolts running through some sections of pipe cut to 4.75" (the track gauge).
The sections are joined using 3" long joiner plates bolted on the outside of the rails.
Each rail has 7 holes drilled through it: this way by placing the bolts in the right position, each pair of rails can be assembled to form either a strait section or a curved one. In order to make up for the "missing" rail on the outside of the curve section, I made some 2" long pieces of rail that are bolted into the rail joiner. The joiners have an extra hole for this purpose.
Looking at the pictures, you may be fooled into thinking that this sytem works great: well it has a couple of drawbacks:
- When I drilled the holes through the rails I thought I would make sure they are all in the same place by stacking 8 rails and clamping them together. Well this backfired because the clamps moved slightly and now the holes are all over the place!
- I decided to use the last bolt of each section to set the gauge and hold the rail joiners. This was a mistake as it is very difficult to connect the curved sections.
I built one more piece of track which is not shown in the gallery: it is a climbing switch that let a train leave an existing track by going over wedge shaped rails up 3/4" to connect onto the portable track. This will enable me to run work trains from my main track to the area where my ballast is stored. I hope to try this tomorrow, wheather permitting...
