The Vermod

So what is a Vermod? Well the name is the contraction of the words "vertical" and "Mamod". My first live steam locomotive was a Mamod. This inexpensive engine is great as long as all you want to do is run it on a circle with broad curves... You guessed it: the main problem with this engine is that it is extremely fast and the throttle acts just like an on/off switch. The first modification I did was to replace the original, solid fuel tablet, burner by an alcohol burner custom built by my friend Henner Meinhold. This improved firing and running time. Next came a remote control: the servo was located in the cab (attached to the roof through a piece of wood for thermal insulation) and controlled the throttle through a reaching rod running the entire length of the engine. This was OK as it enabled me to start, stop and reverse the engine at will. This worked fien until one day when the engine got stuck inside a covered bridge and the burner back-fired through its refueling hole! By the time I retrieved the engine, the servo was totally melted, the insulation of the electrical wires comming from the tender (wich held the radio receiver) were on fire and several low temperature solder joints had melted! In other words it was a disaster!
I decided that there should be a better way to make this engine behave properly, without investing again in costly R/C equipement (all I really needed was a new servo...). So I decided to build an engine that would have kind of gear reduction between the cylinders and the wheels. At first I thought of building something like a Gipsy locomotive: all it would take would be adding a second chassis below the Mamod's and connecting everything with gears... This would be "easy" if I had a machine shop and a lot of experience. The fact is, at the time, I was living in appartment and it had been over 5 years since I've used a milling machine...
While researching books and websites about geared locomotives, I found several early logging locomotives that were not much more than a steam donkey mounted on a flat car and powered through sprockets and chains. These were home built engines put together by very creative but ill-equipped shop crews. I felt like I was a little like them: I had the basic elements need to build a locomotive: by using a chain drive I could connect the Mamod cylinders to a pair of axles mounted on a scratch built wooden chassis without having to worry too much about perfect alignenment of the various parts. So I started working: I assembled a wooden chassis with dimensions taken from a four wheel LGB diesel engine (you can see it in this picture. The chassis of this engine now rides under my railbus). When the time came to mount the Mamod's components on this chassis I decided that the best configuration would be to mount the cylinders vertically and have the boiler right next to them.
I decided that I wanted a different smoke stack than the Mamod's, so I proceed to cut it: that's when the second disater stroke! I mis-calculated my cut and endded up cutting the boiler open! Luckly for me Henner had a good friend of his who was making a boiler for his scratchbuilt Climax (seen in this picture powered by borrowed steam from the Mamod!) and had enough material left for a second boiler.
So that's how my Mamod became a Vermod! Enjoy the pictures... Please note that this project is on going so check back this page as I will be adding more pictures.
Click on the pictures to see an high resolution version: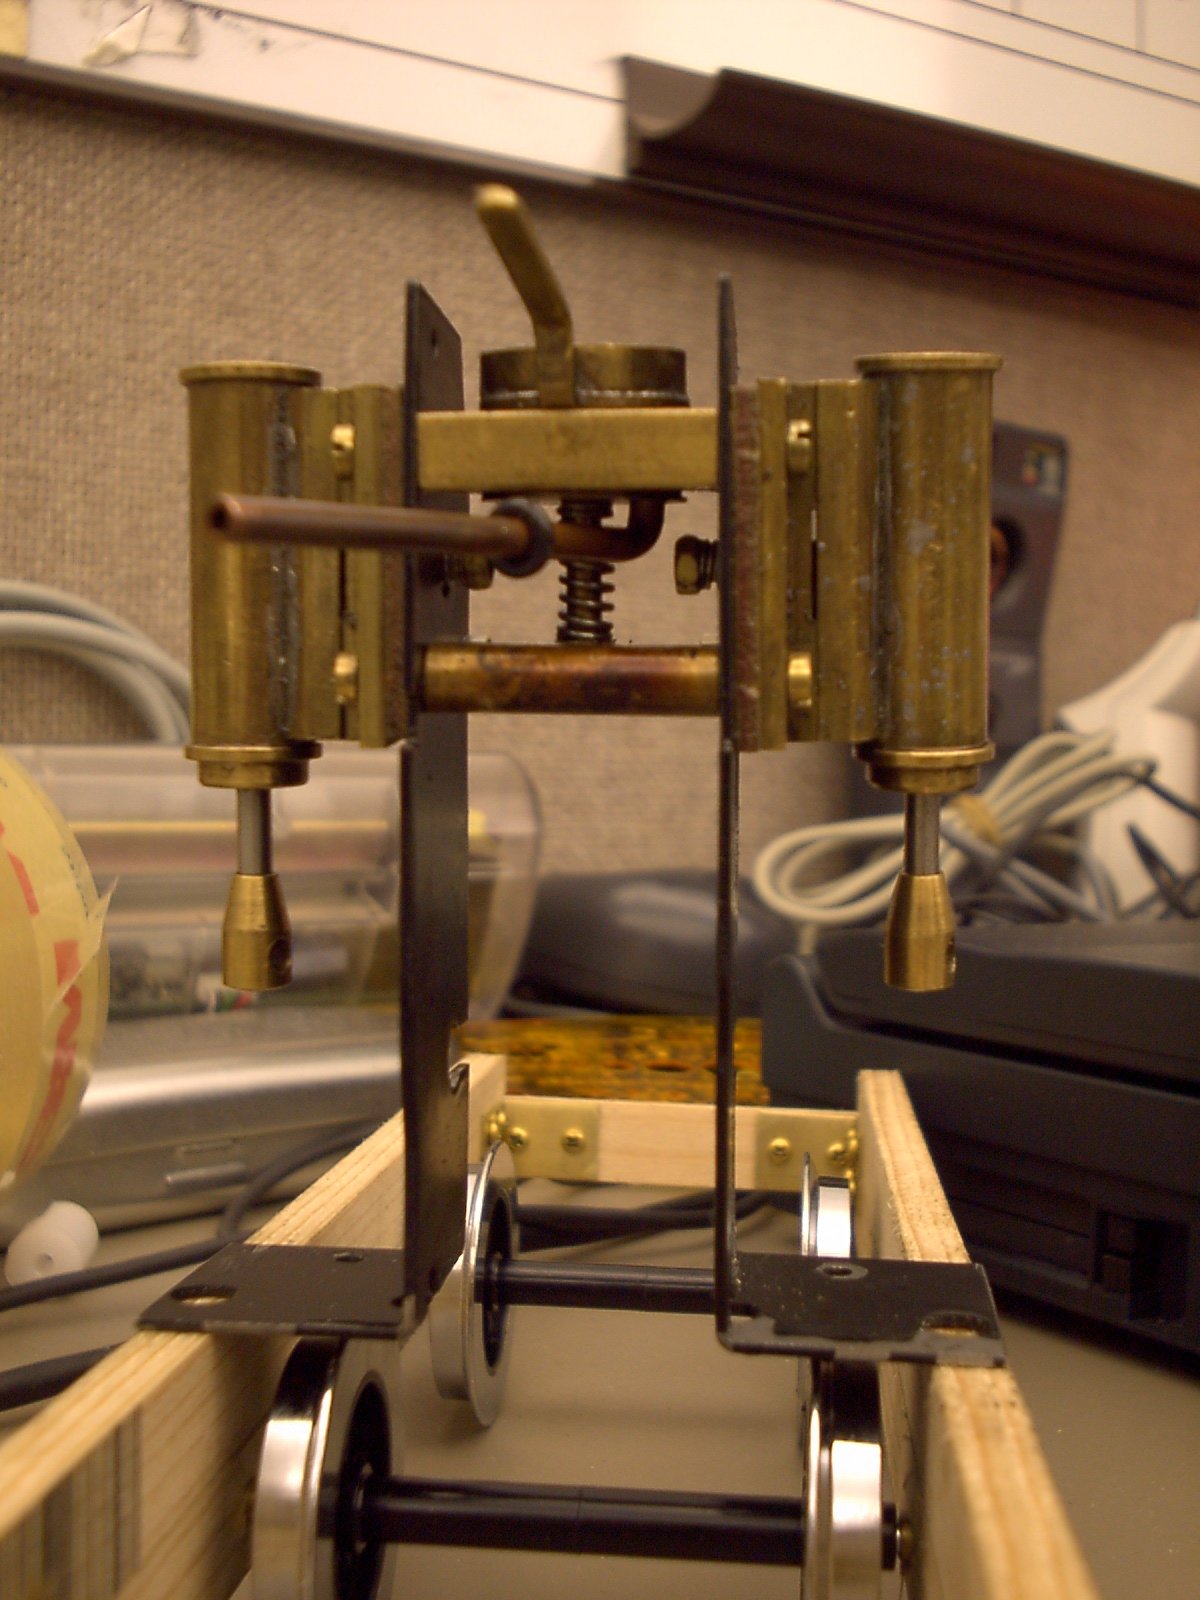
|
Here is an early stage of the construction: the chassis is finished and the Mamod pistons are inplace. |
|
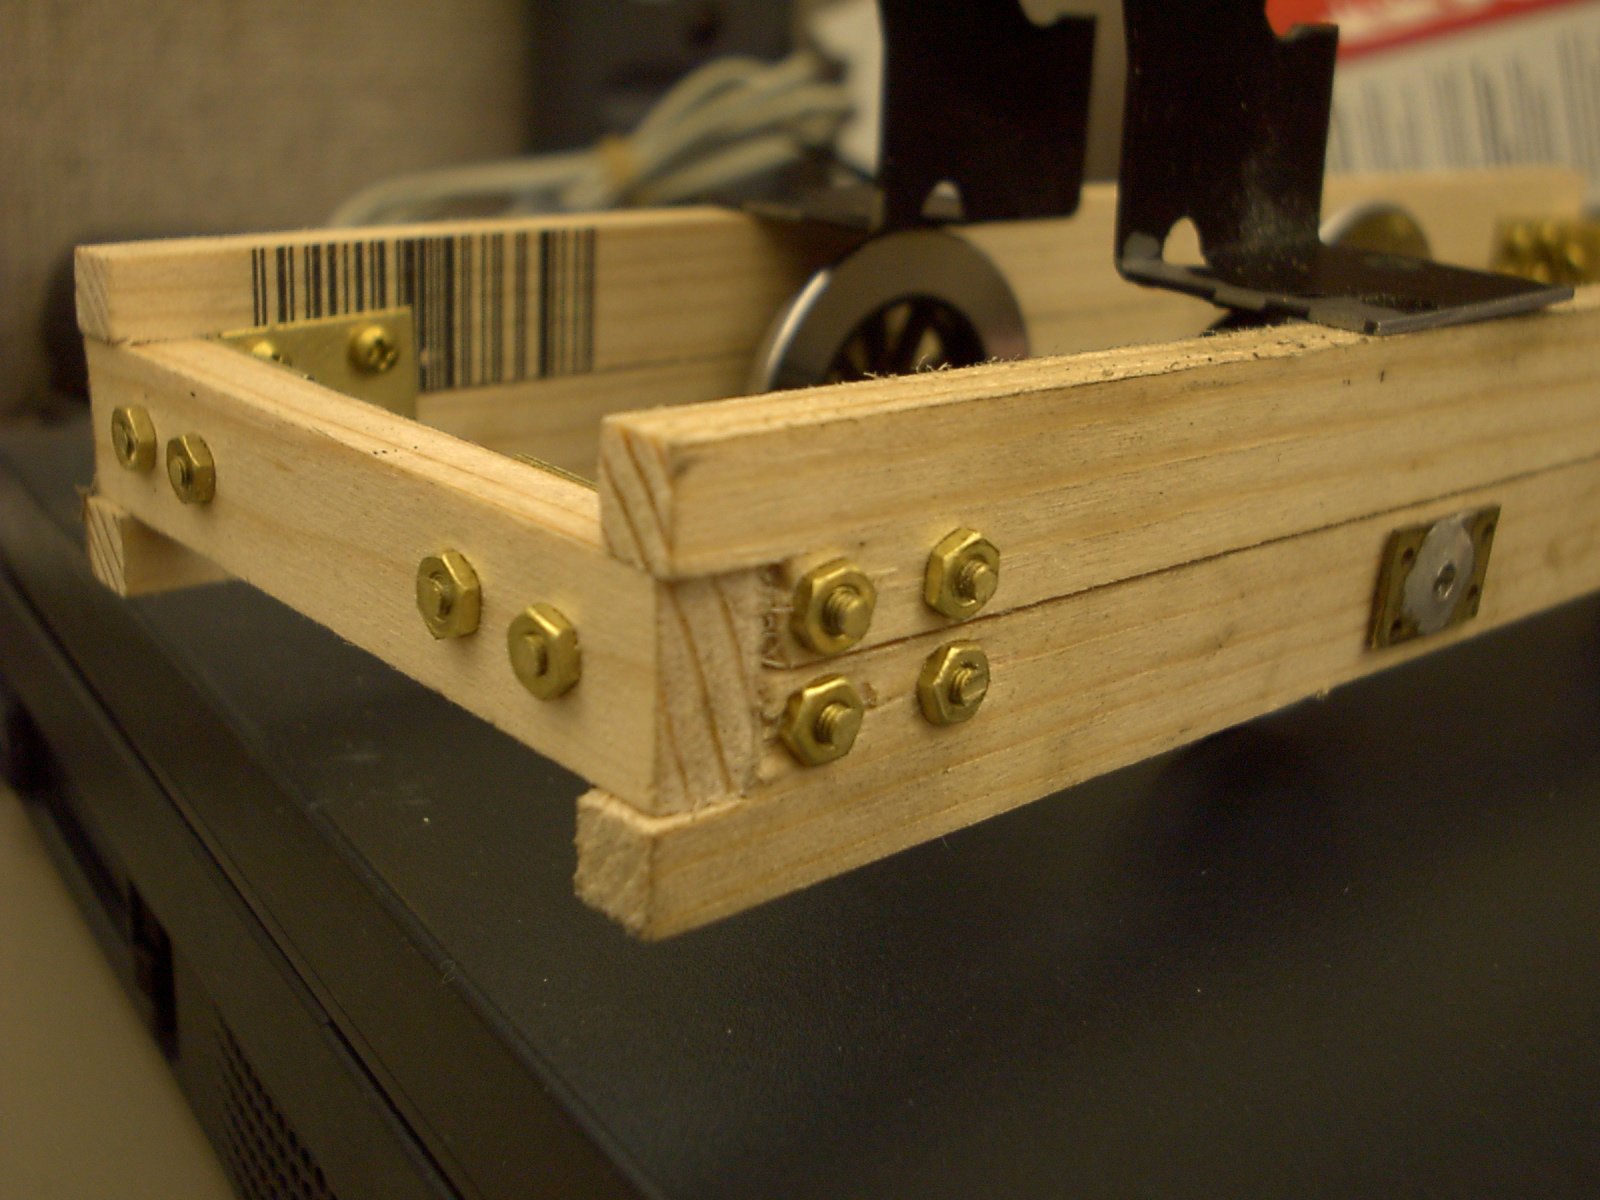
Here is a closeup view of the chassis assembly. The wood joints were milled on my drill press. The axles are standard LGB parts. |
|
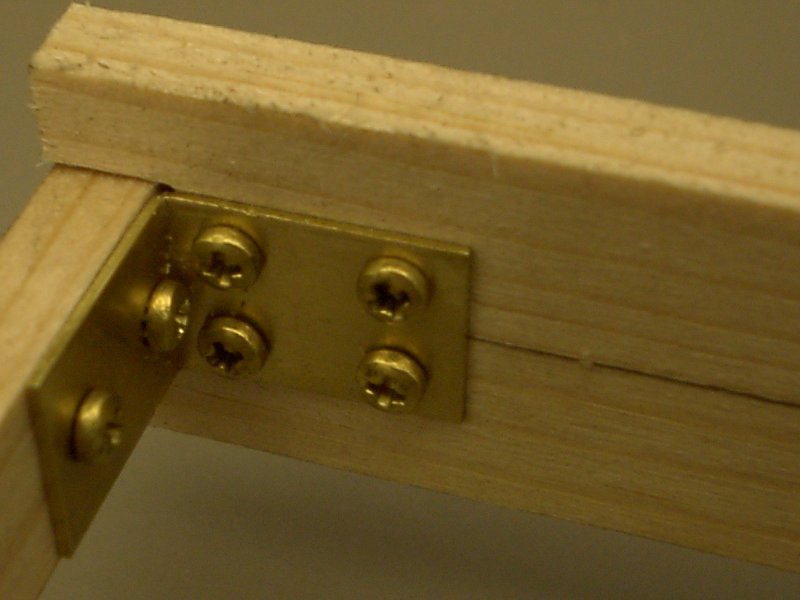
Here is a view of one of the chassis's corners from the inside. The brackets are made from half-inch wide brass strip. The screws are 2-56 (bought at the hardware store). |

|
The bushings for the two axles are made simply by solering a piece of brass tube to a flat piece. Four miniature nails (probably Atlas HO scale track nails) will prevent this part from rotating and coming off. The fixture used for soldering was a piece of hardwood with a hole drilled to hold the tube with an interference fit. The flat piece was then set in place and held with a small clamp. |

|
It is now early May 2000. The Vermod chassis is complete: it ran on air (i.e. my bicycle pump)and is now awaiting its boiler and burner. |
|
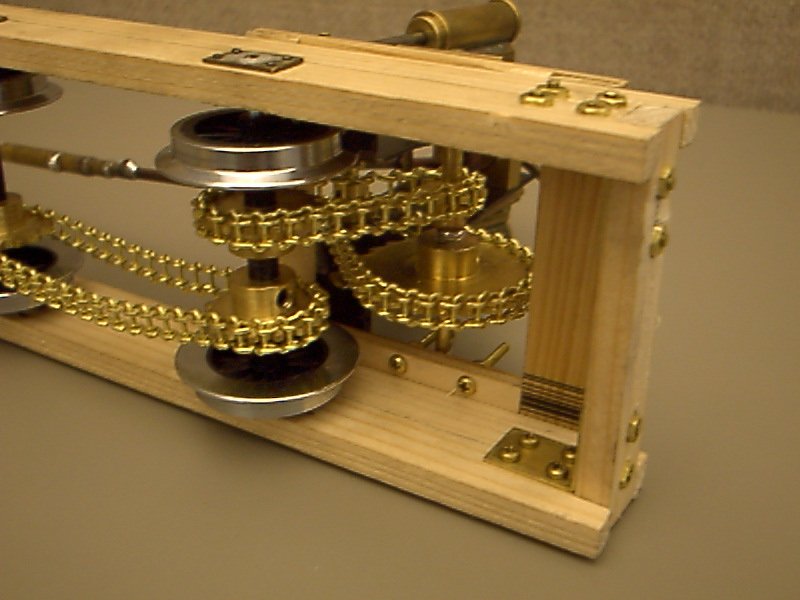
Here is a closeup view (from the bottom) of the chain drive. |
|
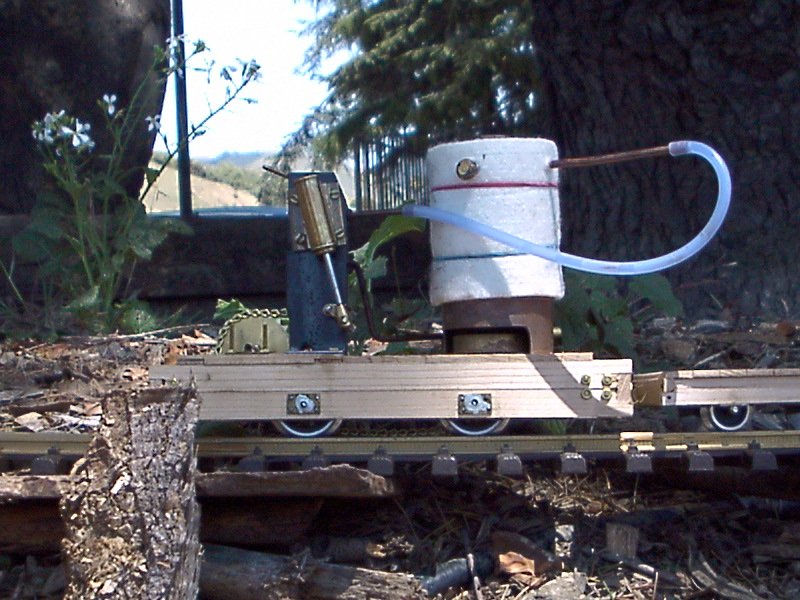
On May 21st, 2000 the new vertical boiler arrived from Germany! We just put it on to of the chassis and fired it with a temporary burner: for the first time under steam, the Vermod ran very well. |

|
Here is a view showing the chain drive end. |
|
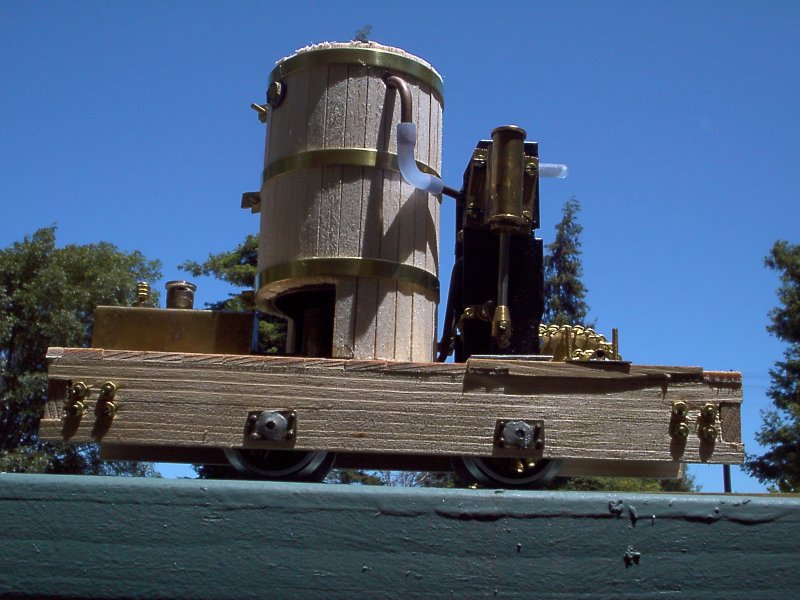
I have now added some wood around the boiler and secured the boiler assembly onto the engine chassis. I also cut the tube coming out of the boiler so only a short piece of silicon tubing is needed in order to connect it to the cylinders. |

|
Here is a view of the boiler and burner. |
|
The burner was built by modifying the Mamod's. Obviously, solder will have to replace the rubber band before it can be used! |
|
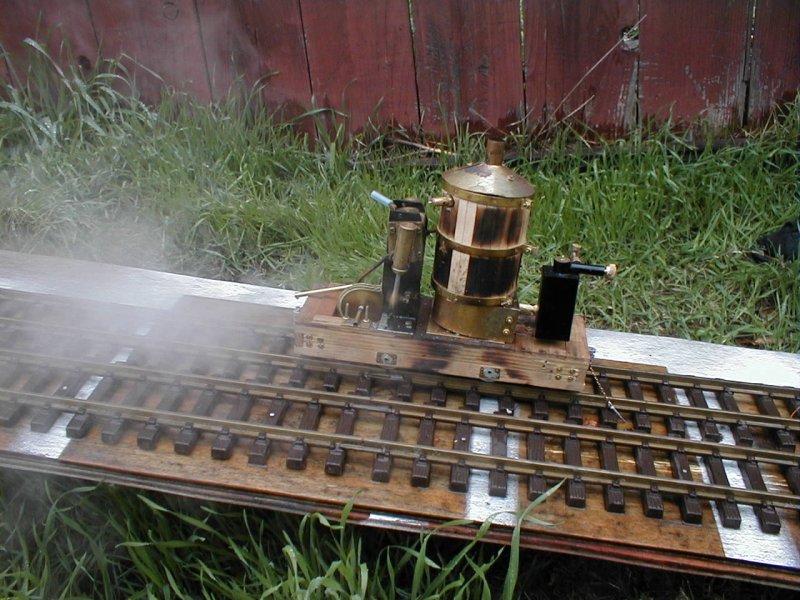
This picture show the Vermod in its current (March 2003) configuration: the alcool burner has been replaced by a butane burner. As you can see by the burn marks on the side of the boiler, alcool firing can be dangerous! |
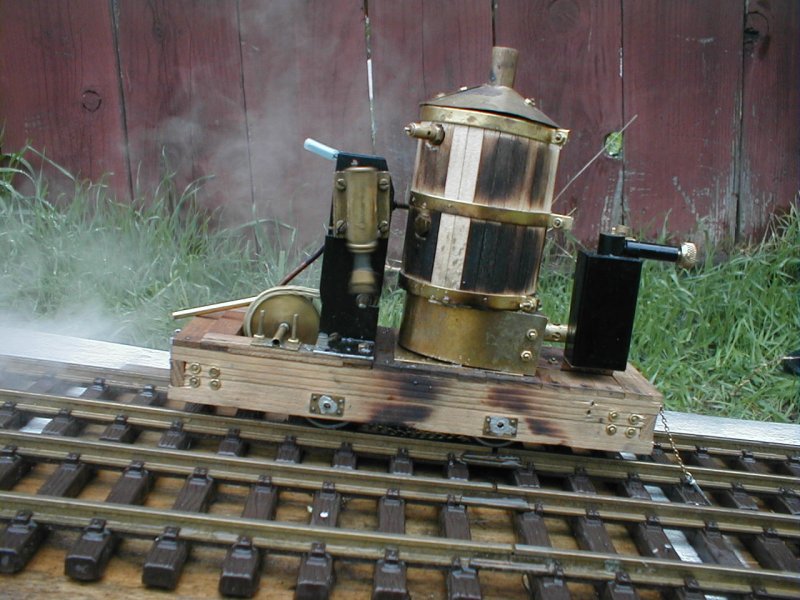
|
Here is a close-up of it working hard on the 10% grade... |
|
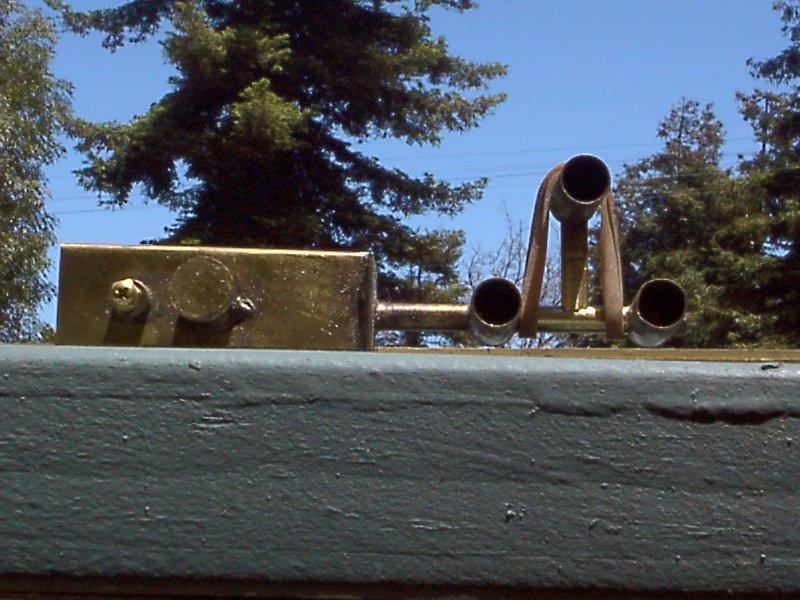
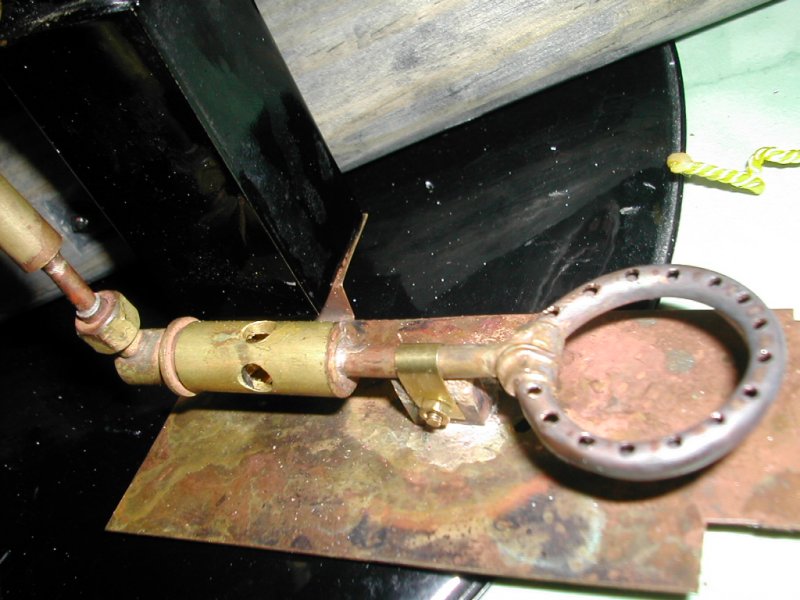
This is the current butane burner. The gas tank and jet holder are from an Accucraft Ruby. The rest is scratch built. Based on the success of a ceramic burner in our Donkey, I'm thinking about modifying the Vermod in the same way. |