


| November 2009, Eric begins building a model of a Carter Bros. narrow gauge flat car. Casey the dog gives a sense of scale. |
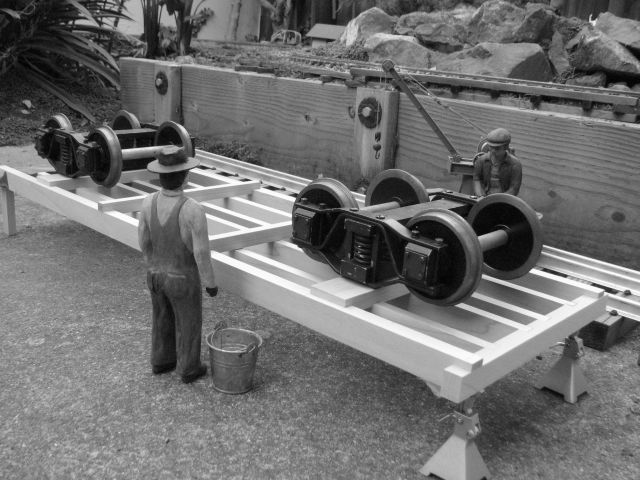
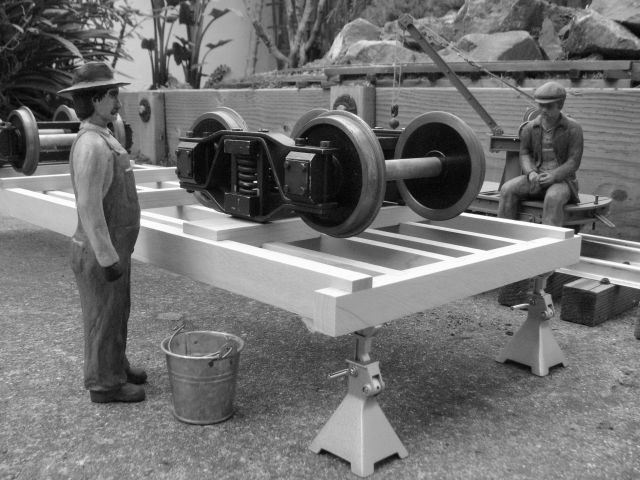
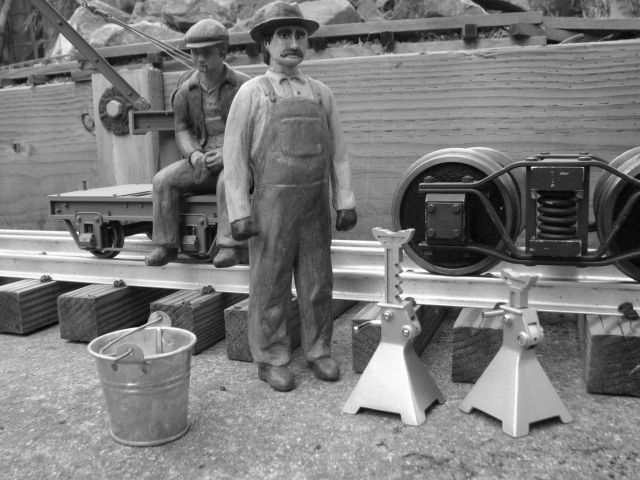
| Out in the yard, the crew surveys their work. |
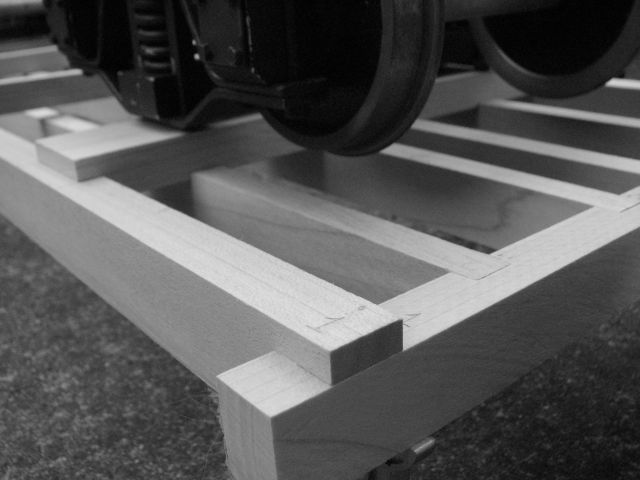
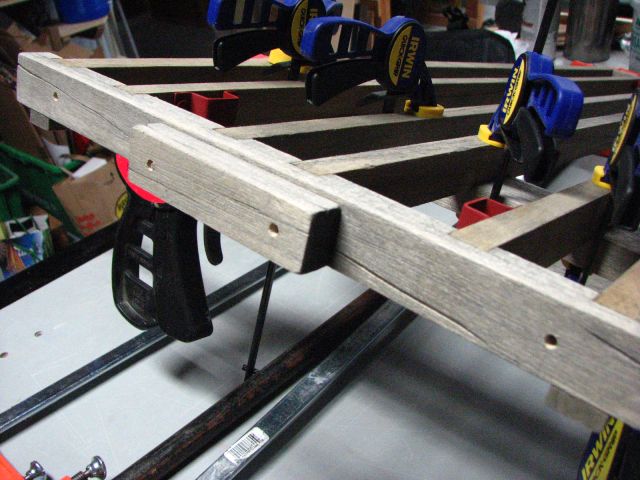
| This project involved some fancy wood joinery. |
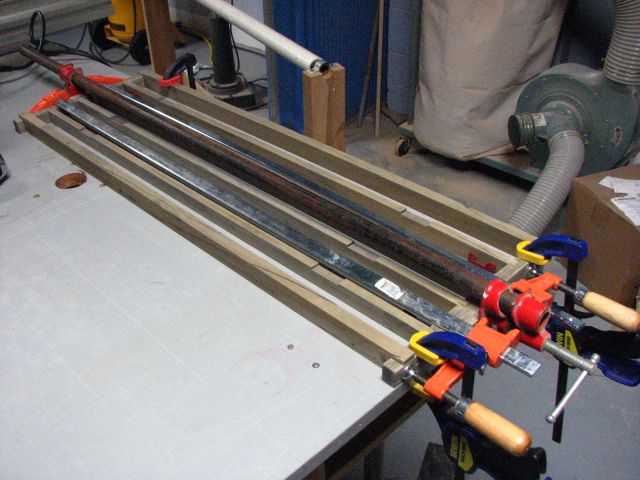
| The crew discusses coupler options. All the wood parts have been cut except the draft timbers and the decking. |
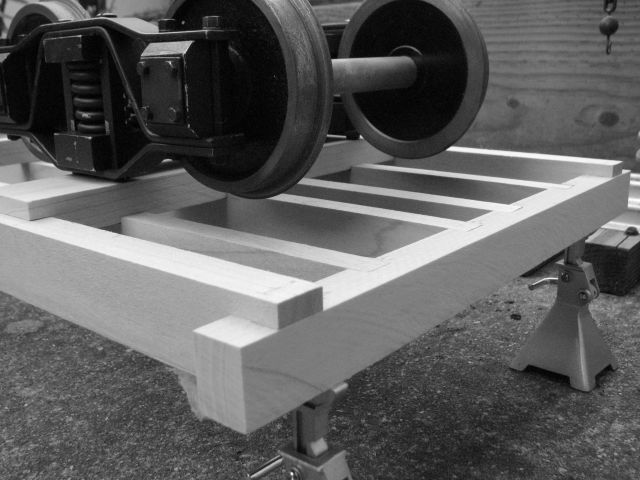
| The truck is mocked up in place on top of the frame. |
| The needle beams are dry fit. They will support the truss rods. |
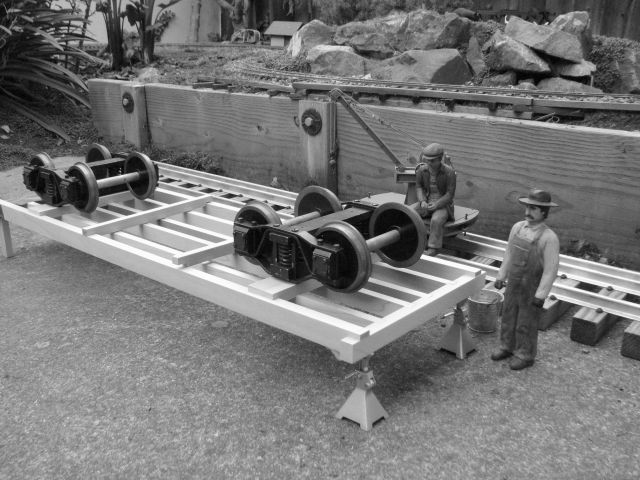
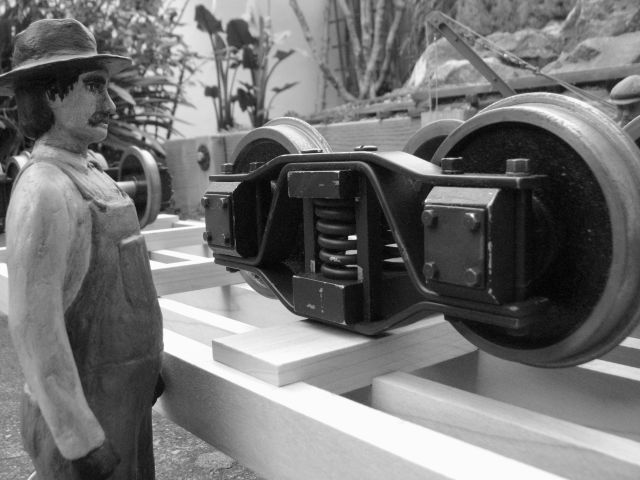
| Hmmm. How should I mount these trucks. |
| Mounting trucks involves some serious discussion. |
| Nice new jackstands. |
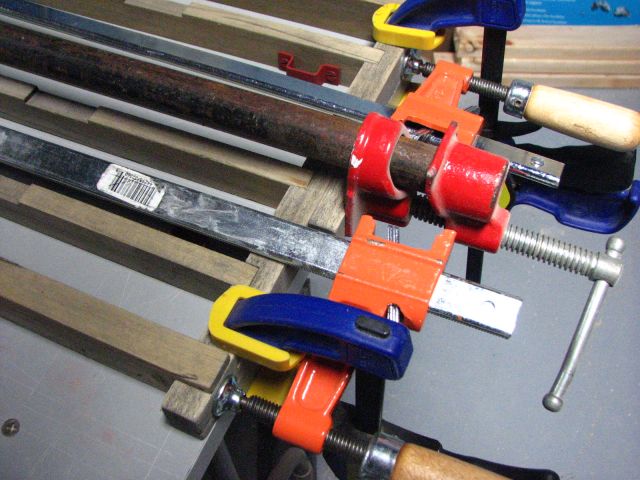
| A nice flat table top was necessary for clamping up the cars frame. Waterproof wood glue was applied to all joints before clamping. |
| The corner of the table was used to square the frame. I double checked it for squareness by taking diagonal measurements of the frame before tightening the clamps. |
| After the main frame was dry I glued and clamped in the body bolsters. |
| Here you can see that all the wood parts were weathered and stained BEFORE assembly. Note that the truss rod holes have also been drilled. |
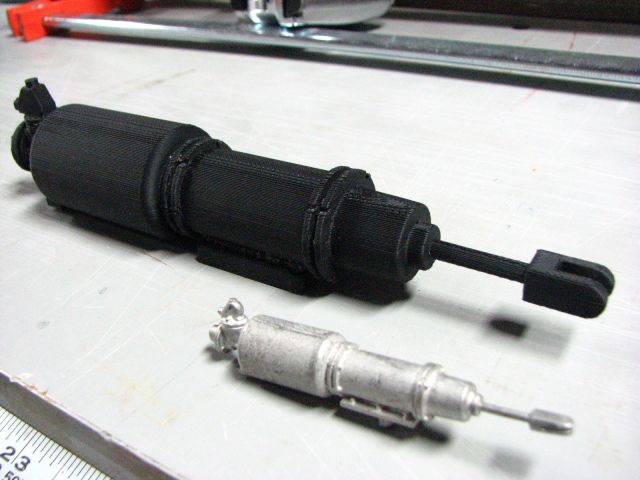
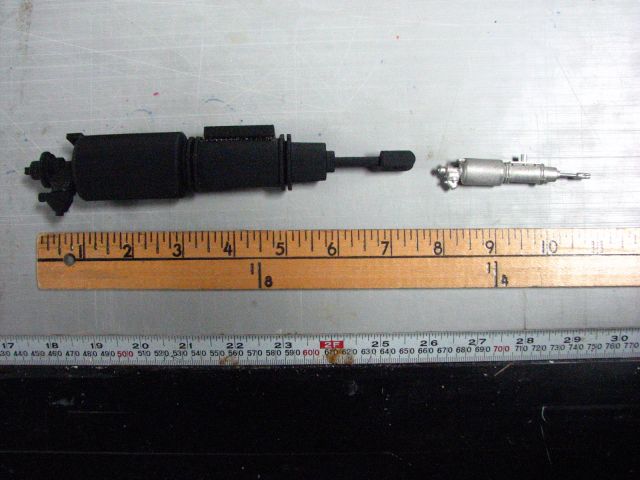
| An air brake reservoir and cylinder was created for the car by 3D printing. The metal part in the foreground was used for reference. |
| The part is nice but will require some sanding and filling to be usable. |
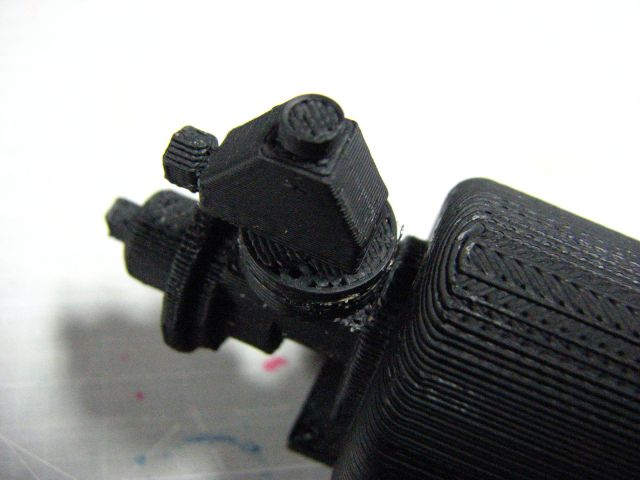
| The 3D printer builds the piece by extruding hot ABS plastic from a nozzle. It gradually builds the part--much like frosting from a pastry bag. |
| This shot gives you a clear idea of the size of a 1:8 scale part compared to a 1:20.3 scale part. |
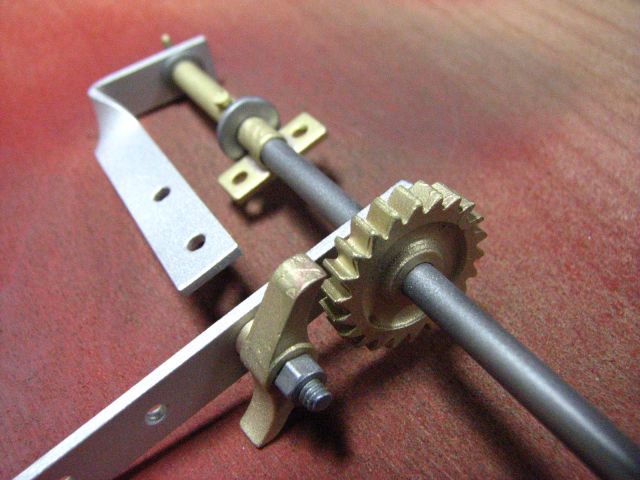
| After the car frame was assembled, prep of all the metal parts began. Here you can see the brake wheel/staff assembly, a brake lever and the stirrup steps. |
| The brake wheel assembly is built from a combination of brass castings, machined and forged metal parts. ALL metal parts were bead blasted before painting. |
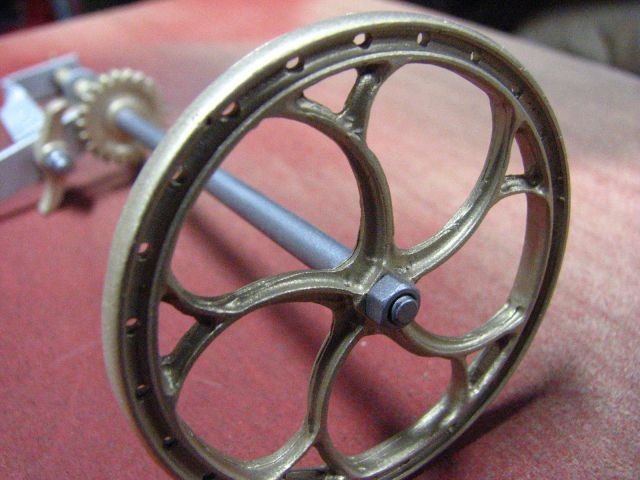
| The brake wheel is a large and beautiful brass casting from Branchline Products in CO. it is bolted onto the staff which was filed into a tapered square shape. |
| Casey Jones (the dog) gives a sense of scale to the newly assembled car. Most of the metal parts have been installed and the car has been painted but there is more to do... |
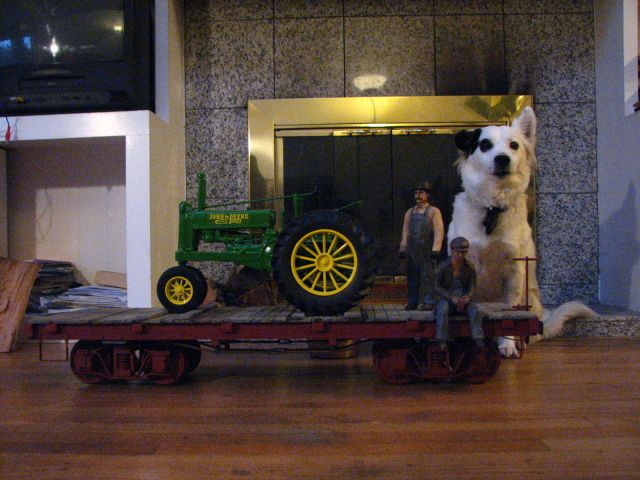
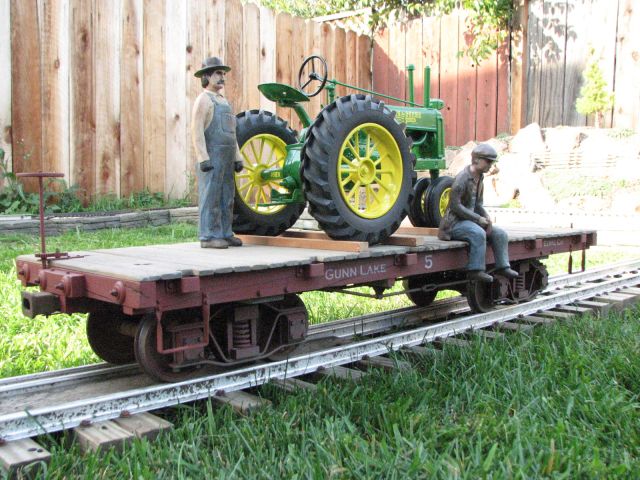
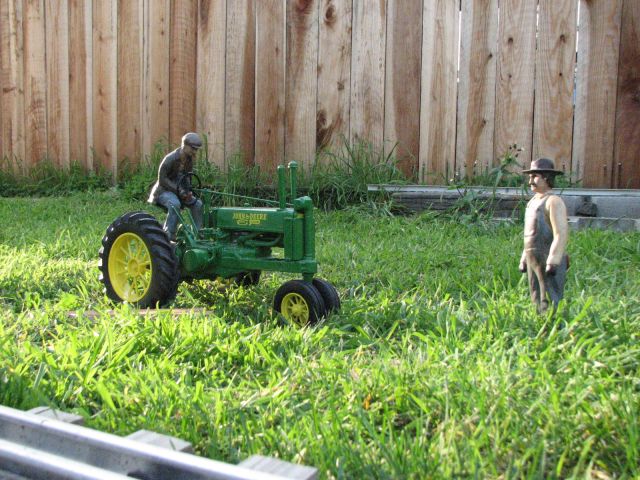
| Almost finished!! The car has been lettered and weathered. David's 1:8 scale tractor and crew are "testing" the new car. |
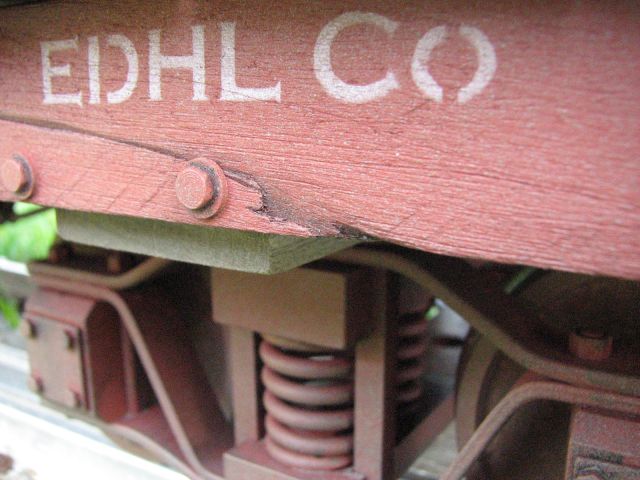
| Credit where credit's due: EDHL Co= East Devil's Hill Lumber Co= Eric, David Henner. Here you can also see some of the hand carved cracks that add to the aged appearance. |
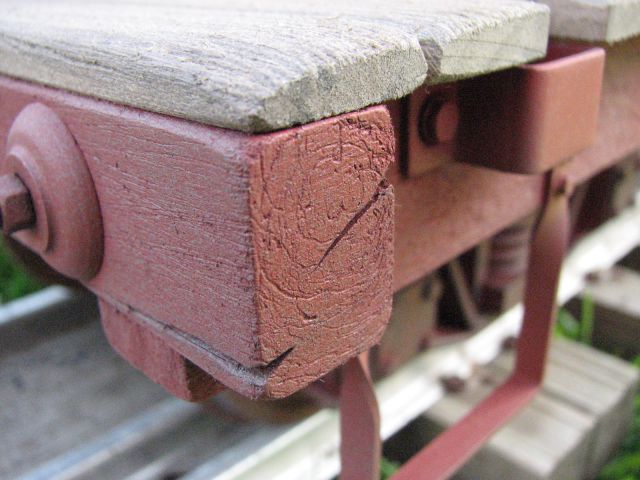
| End grain and checking were simulated in some of the timbers. |
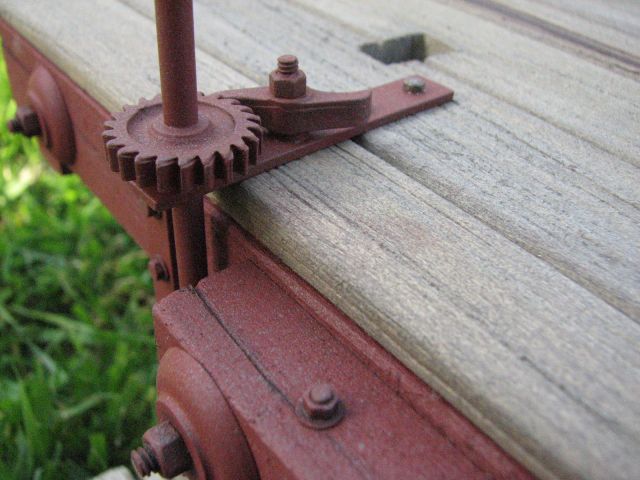
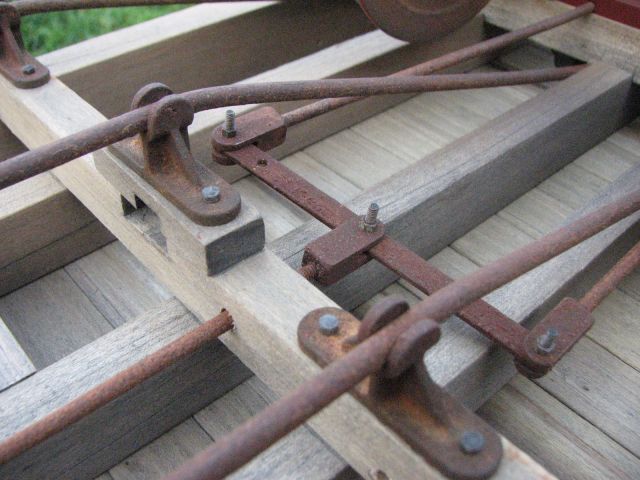
| The ratchet and paul mount plate is through-bolted to the deck planks. |
| The truss rods are steel and fully functional. You can tension them by tightening the nuts at the end of the car. |
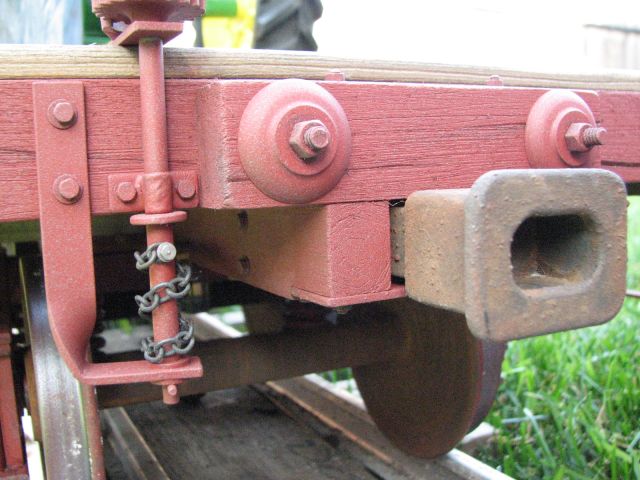
| The turnbuckles are brass painted to look like rusted iron. They are decorative only. The stake pockets are repurposed parts from a slide-bolt style latch. |
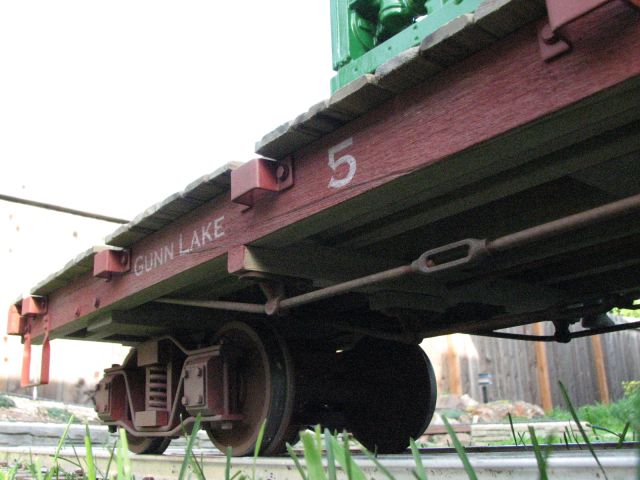
| I (Eric) lettered the car in honor of a piece of property my parents own in Northern MN. |
| A look at the underbelly reveals a fully detailed brake system with all linkages. The queenposts are brass castings. |
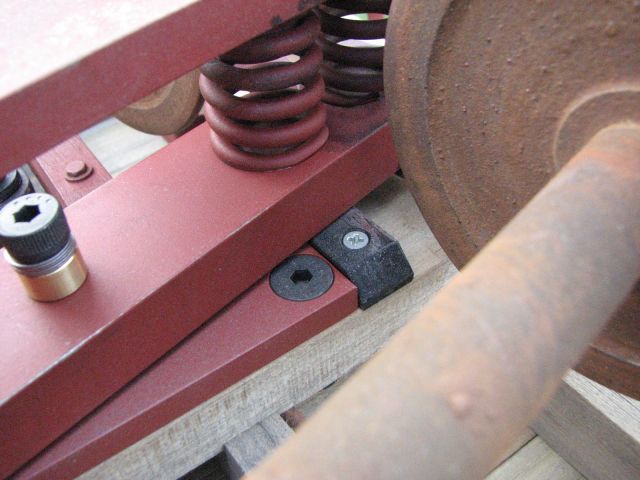
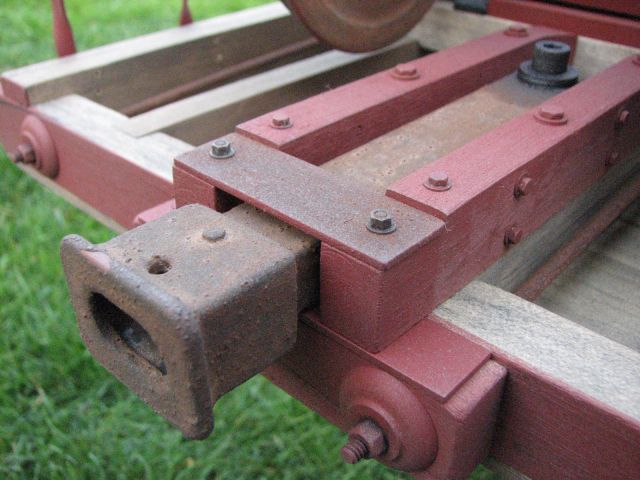
| A look at the truck mounts and pivots. A 1/4" thick mounting plate is through-bolted to the body bolster. Delrin blocks stabilize the trucks which are attached with a shoulder screw and spacers. |
| The couplers are built up from brass stock. The assembly was silver soldered together and painted to look like rusted iron. |
| I couldn't resist taking this shot of the 1:8 scale John Deere model A tractor in Henner's yard. |
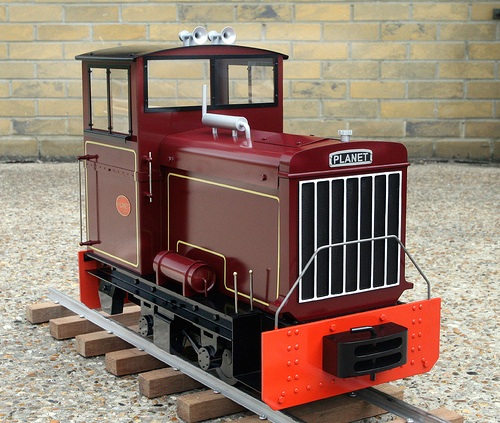
| Eric ordered this Maxitrak Planet in April 2010. The 1:8 flat car wil make a nice riding car for this locomotive. |
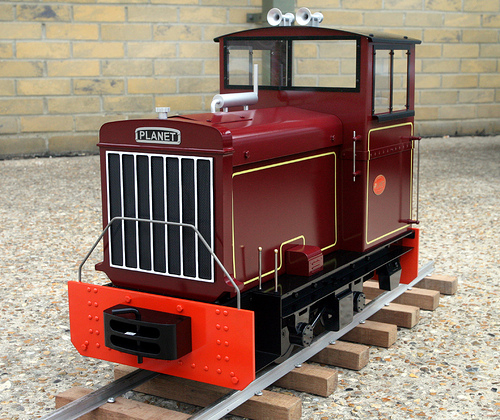
| Planet2.jpg |
| Planet3.jpg |