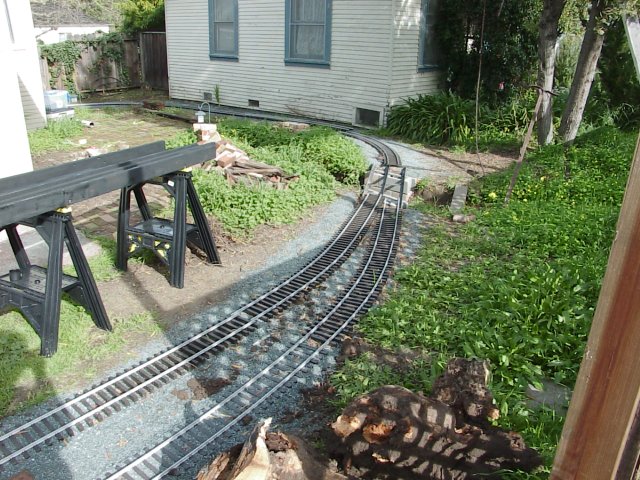
This page shows the complition of the four and three quarter inch gauge loop. The third rail required for the three and a half inch gauge will be added later.
As visible on the above picture, the last piece of track needed was a switch to be located on the bridge. Having the switch on the bridge has two advantages:
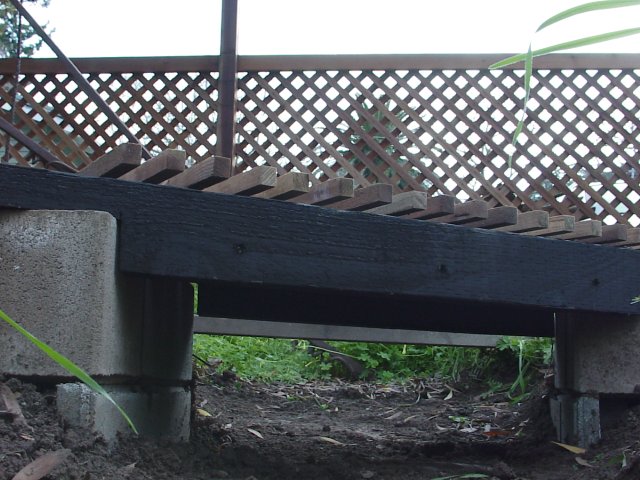
Here is view of the bridge taken from the bottom of the river. Notice how the ties extend past the side of the bridge: the final track alignement did not match the one originaly planned when the bridge was built. I ended up having to move the bridge by several inches so it would line up with the track! I now understand why railroads hire real surveyors!
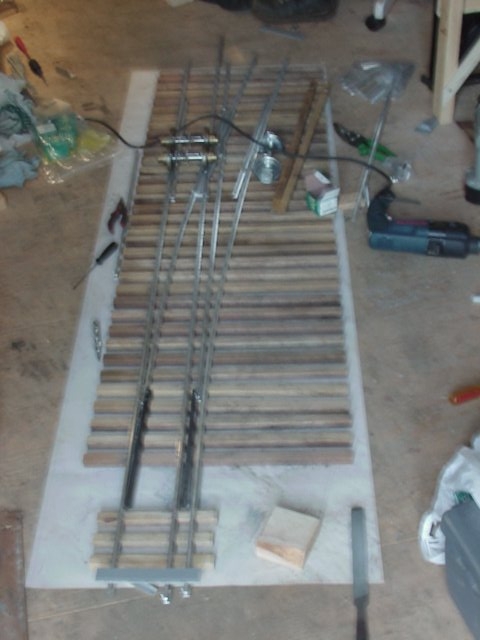
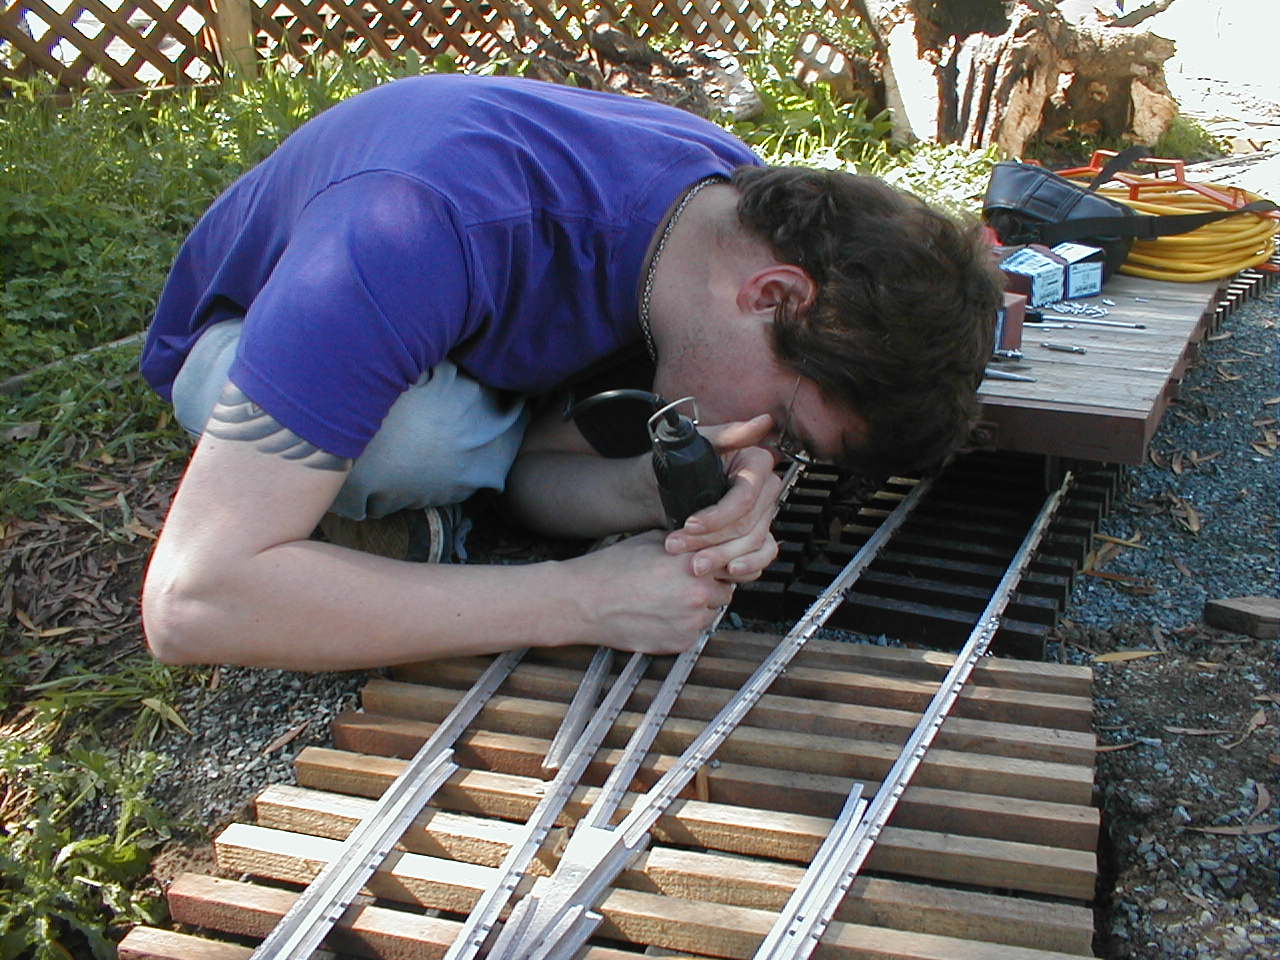
The switch is special because of the dual gauge nature of the main line. In order to keep the switch relatively simple to build, the siding is single gauged. As you can see the picture below, taken during the switch assembly, it has two frogs. The assembly took place on top of the full size plan provided by Riding Rail Kits as part of their switch kit. This takes the guess work out of builing a trouble free switch on the first try. If only taking a good picture was as simple as building a switch...
Here are a couple of pictures of the bridge in its "natural environement":
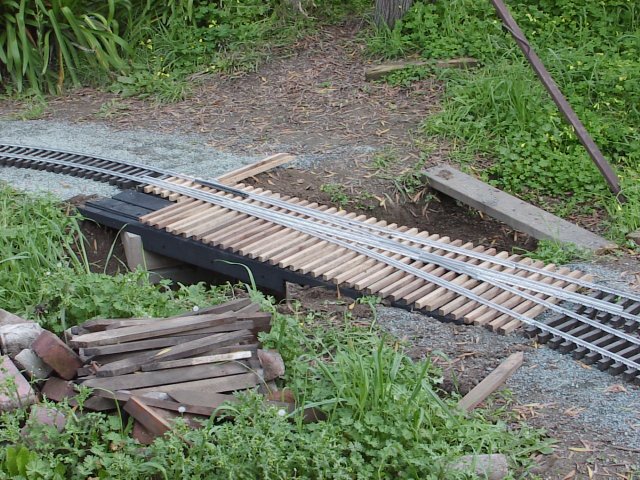

The ties have been kept long for the full length of the switch because they will support some planks which will form a walkway over the river. This task is now served by the two by four plank visible in the foreground of the last picture.
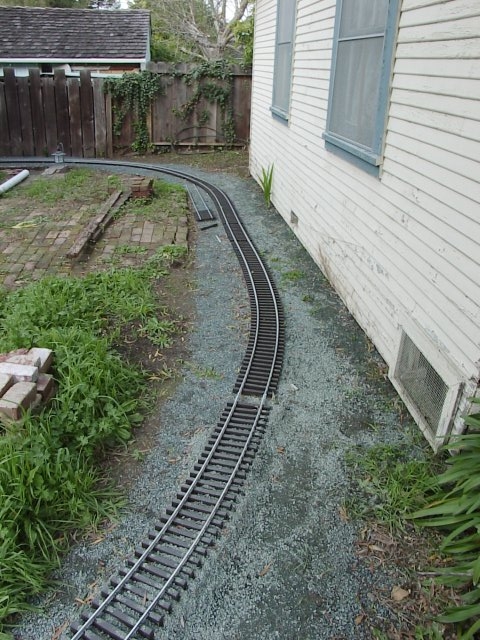
Here is a view of the finished track just past the switch:
A "last spike" ceremony was performed to mark the complition of the loop. Since we didn't actualy use any spikes, Henner machined a special bolt for a rail joiner out of solid silver. I'm going to try to gold plate a screw to mark the complition of the third rail...
After some last minute adjustements, the special bolt was installed:

In the spirit of the complition of the American trans-continental railroad, we setup our two locomotives on either side of the last rail joiner and the three of us provided the "crowd"...

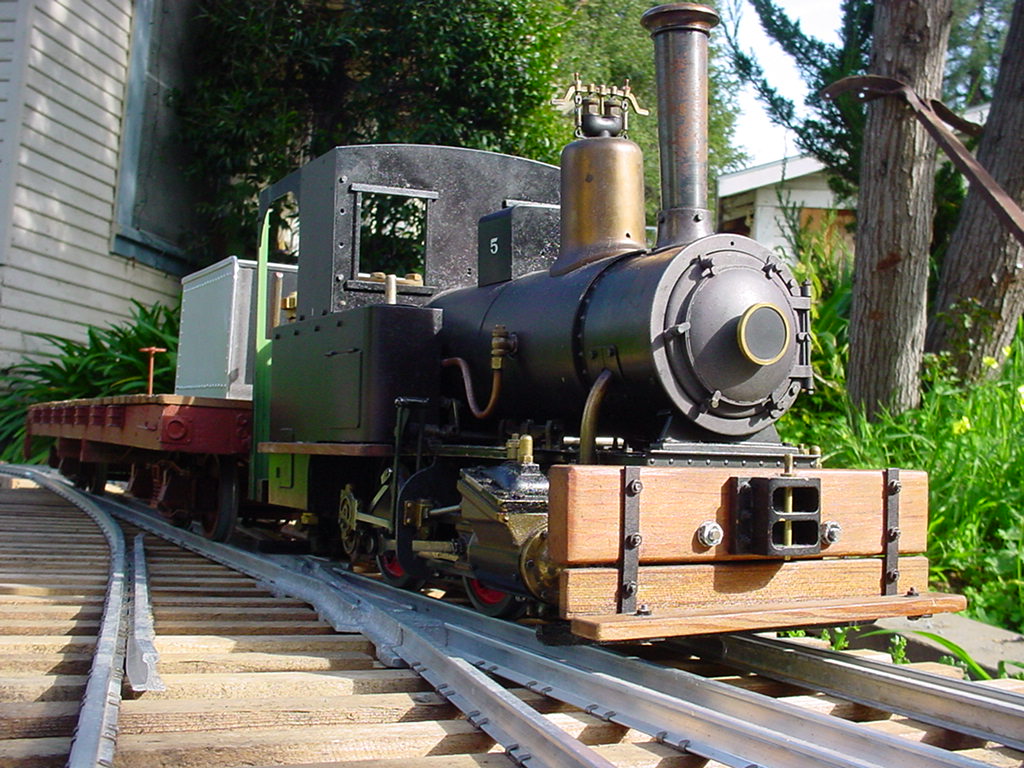
On the right side of the picture you can see Eric's OS Krauss. He is in the process of modifying it to look more American. He has already added a custom made front end beam and coupler and he is working on a tender (the body of which is visible on the flat car. A new cab and new safety valves will be added next. Here is a more dramatic view of this engine: